Showing posts with label shelving. Show all posts

Monday, March 26, 2012

How To Arrange Your Bookshelves


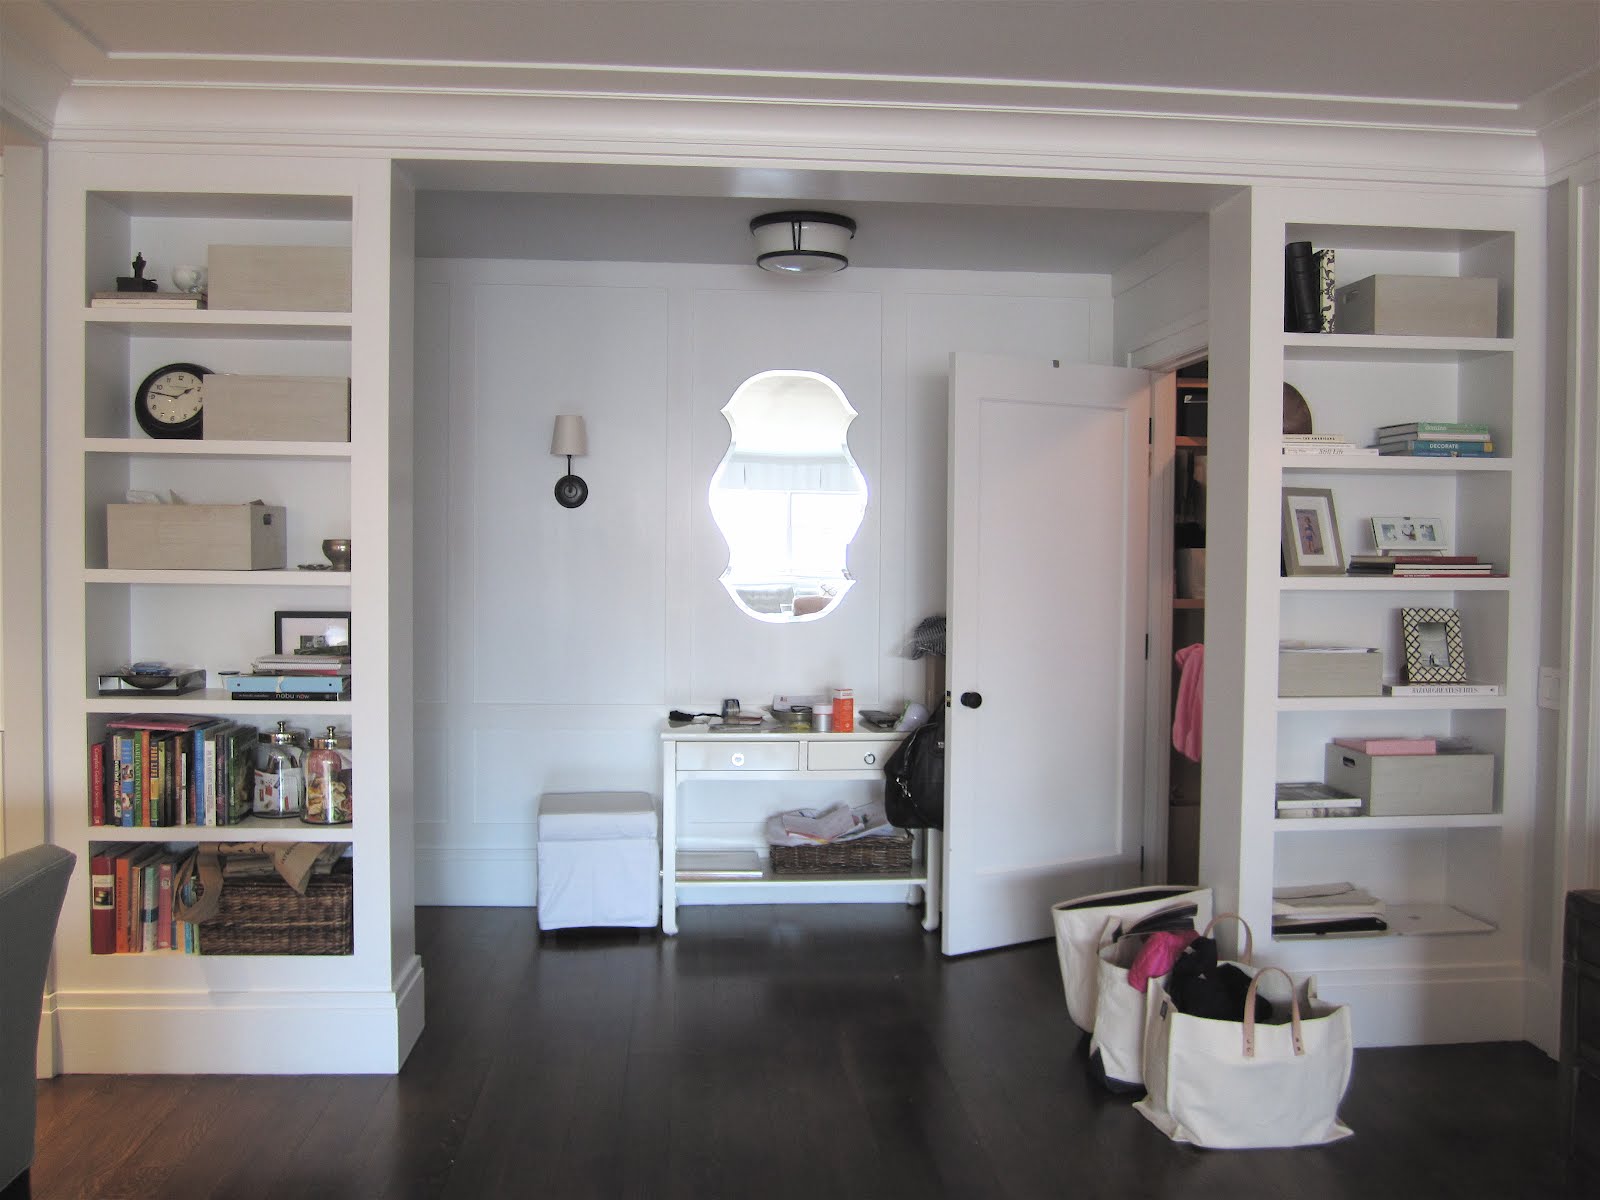
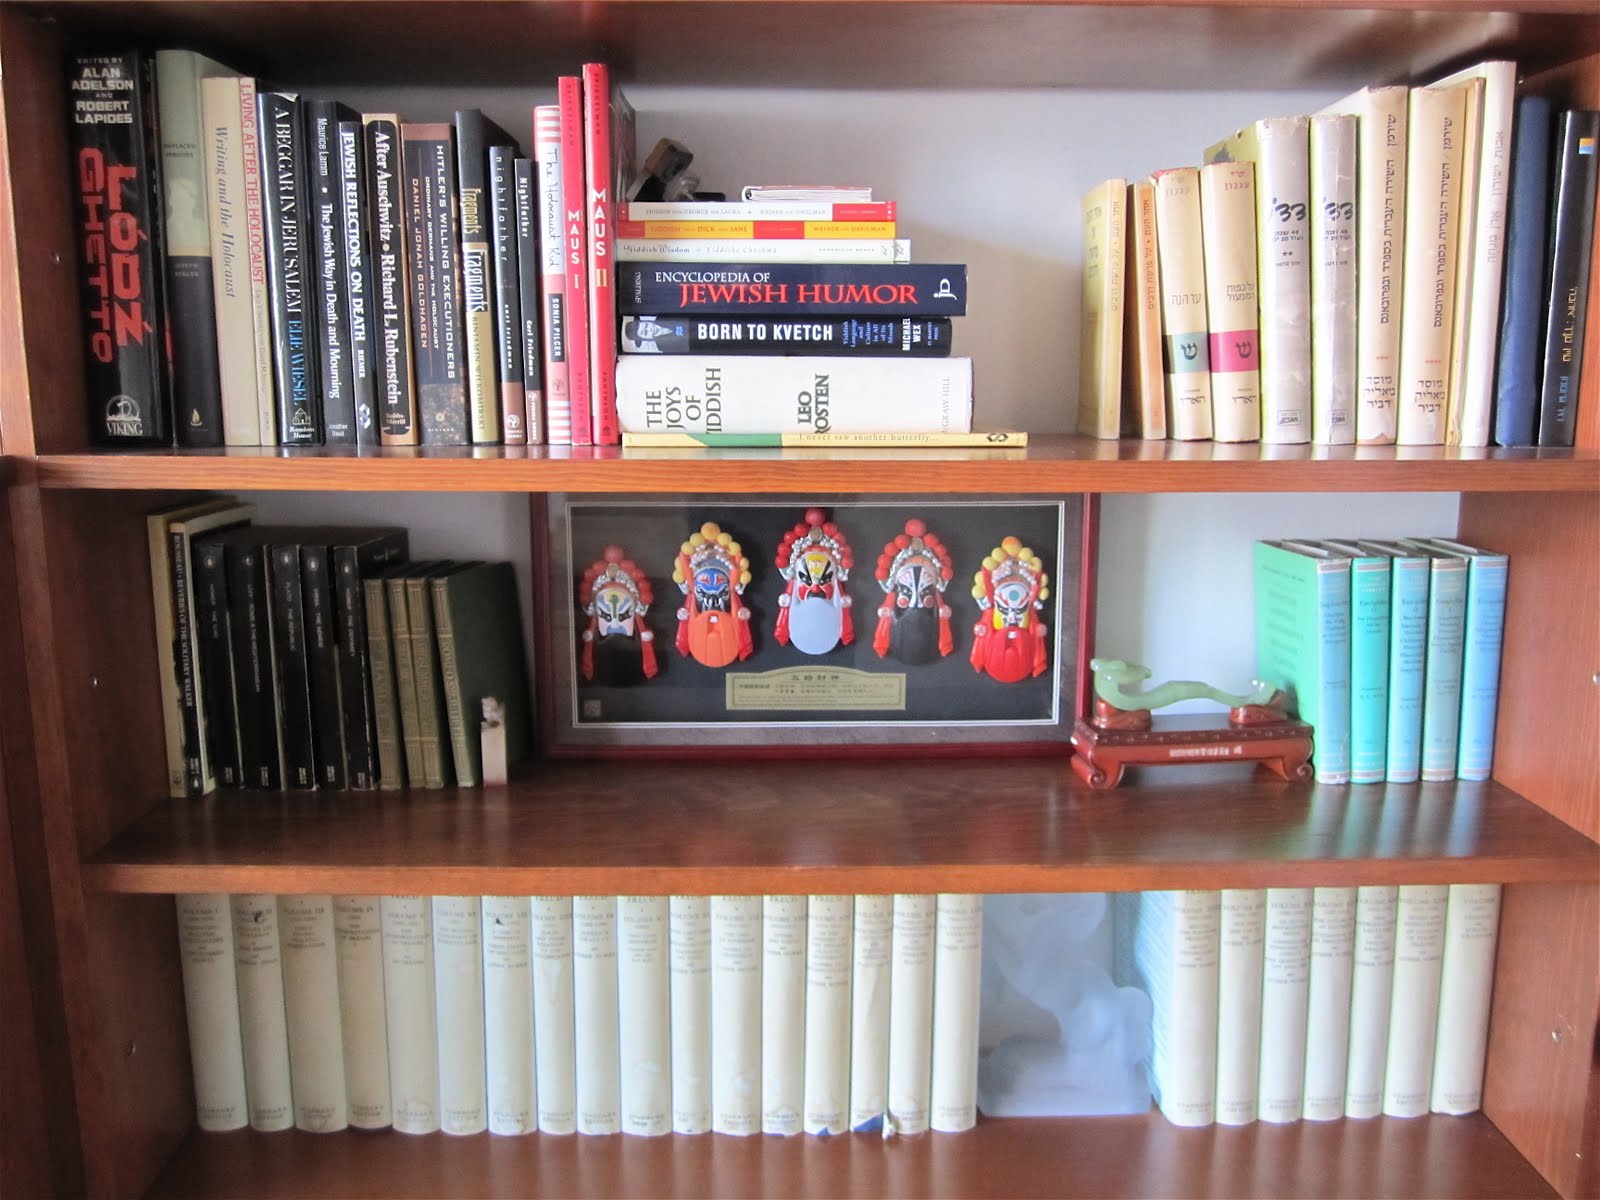
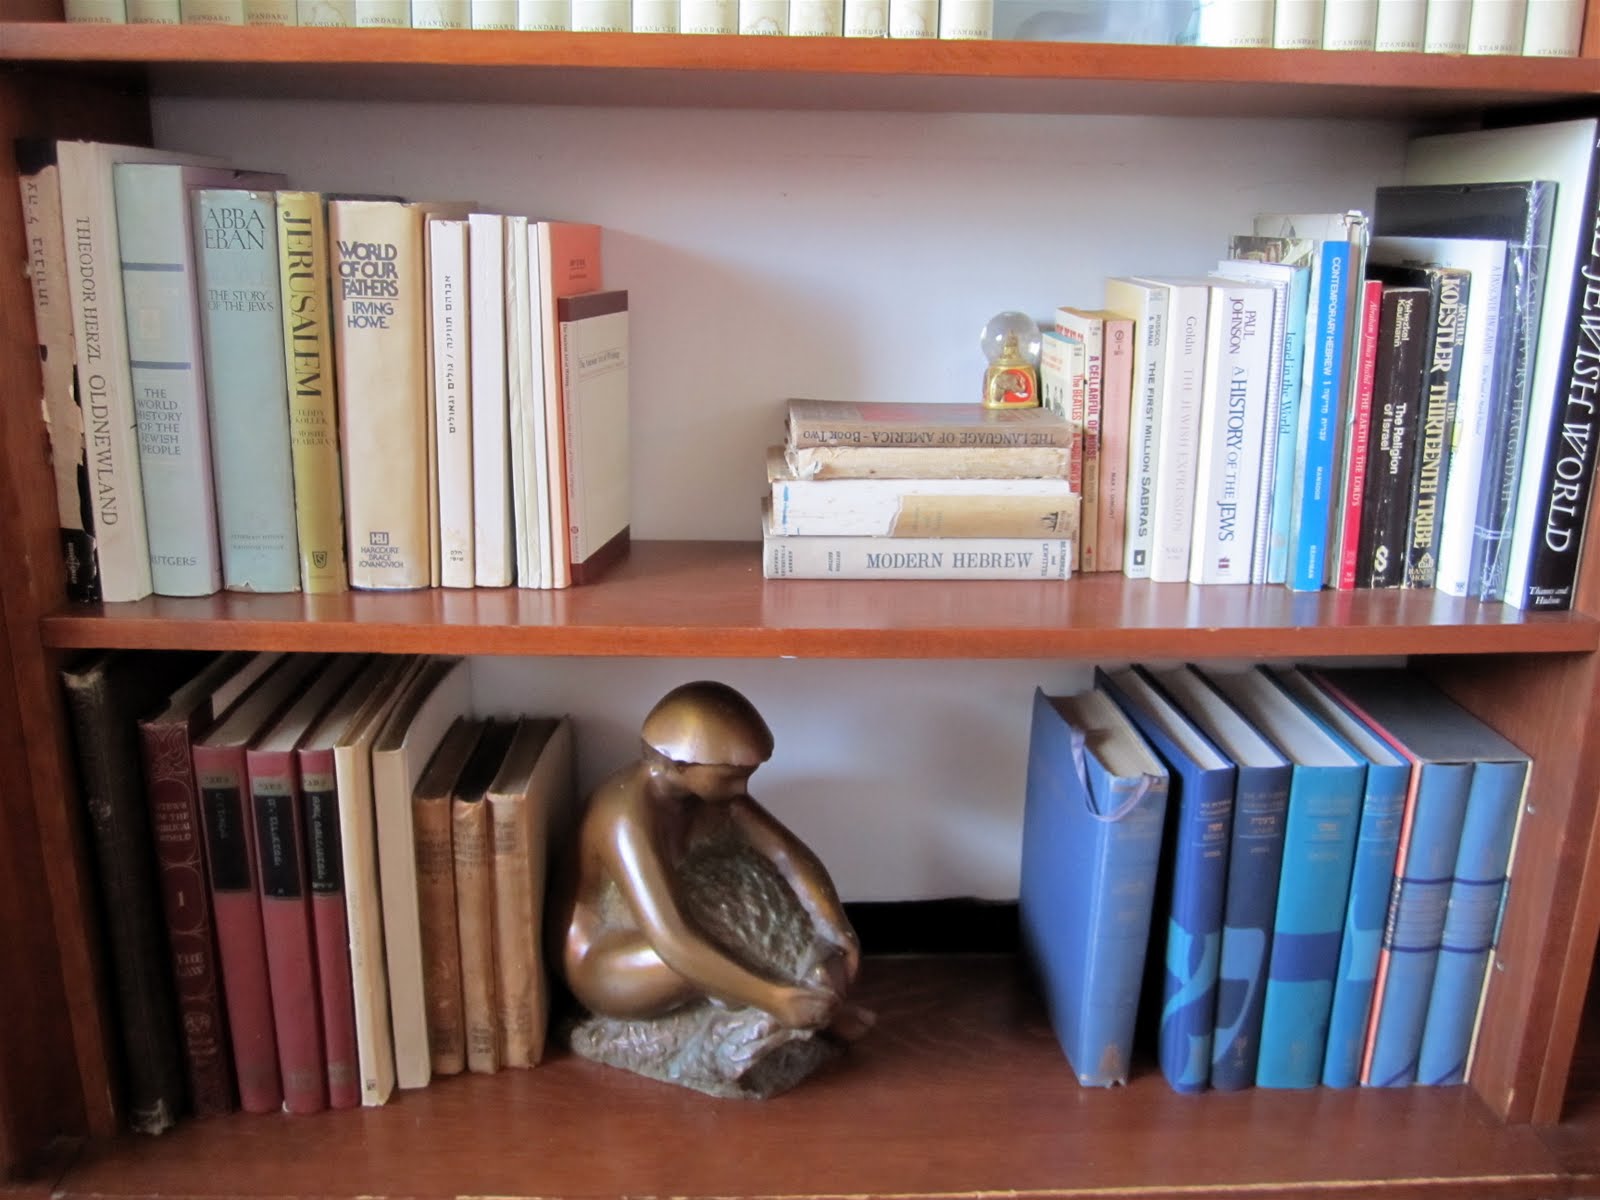
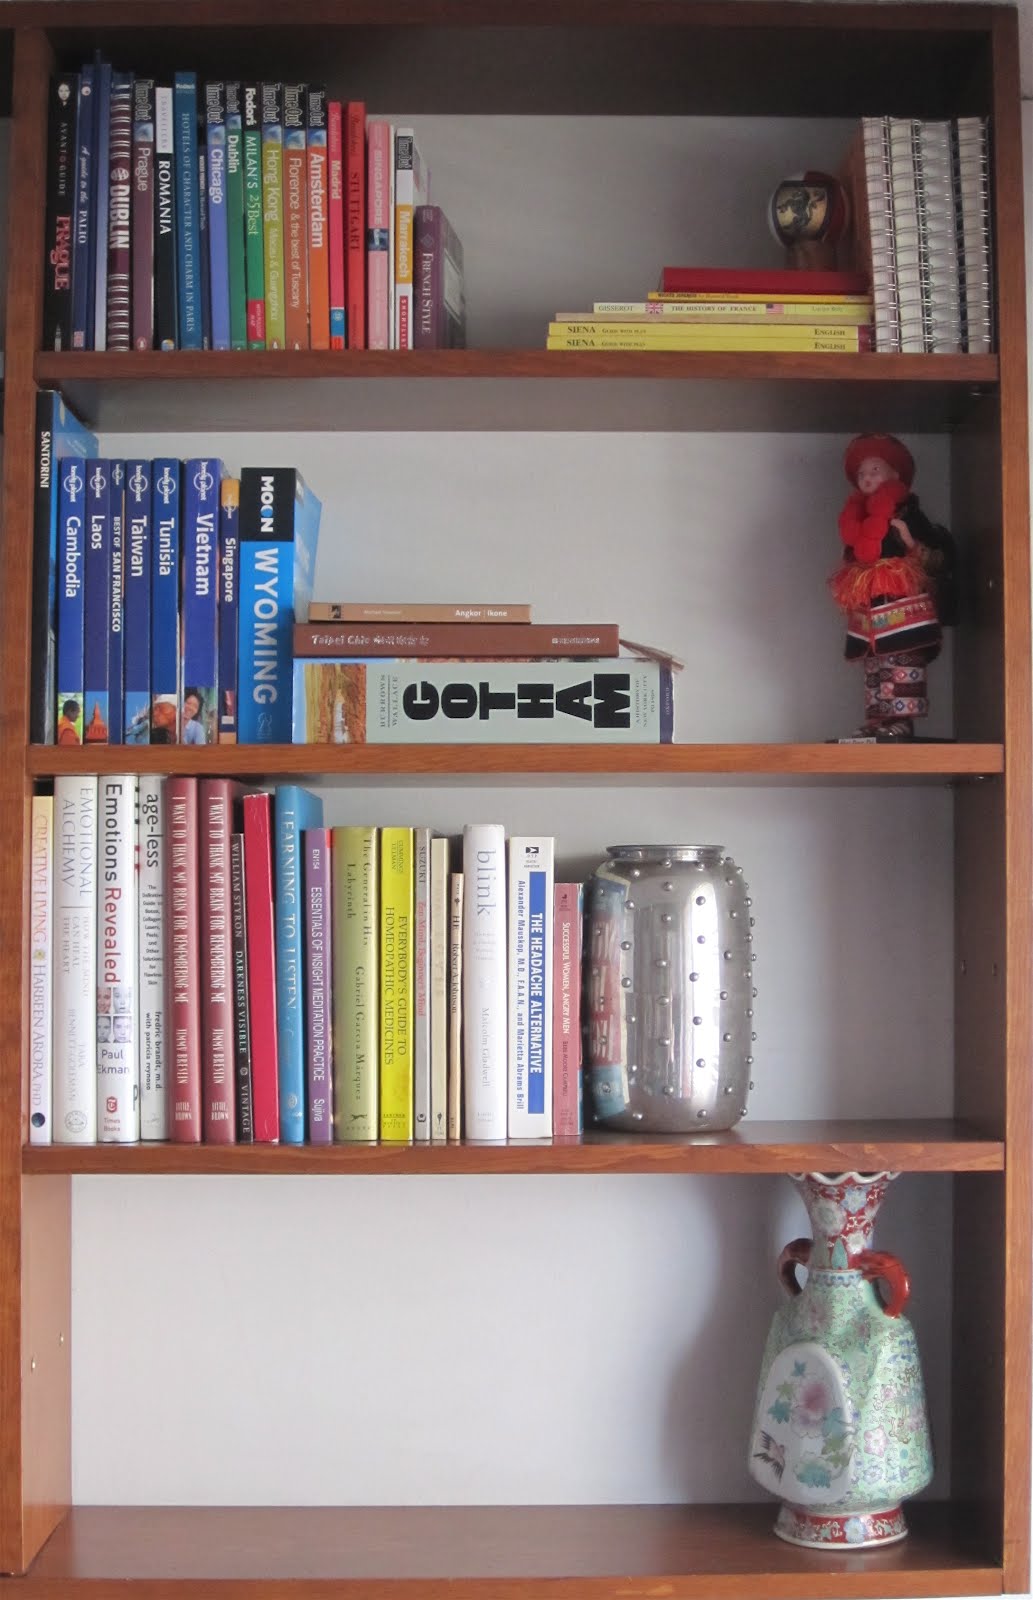
Going thru my photos, I found these from the wall opposite the shelves from this library that I haven't shared before. So let's take this time to talk about how to arrange your books.

Some people arrange their books by how they look best, others categorize by subject. If you have a smaller collection, arrange by look. Those with a lot of books and actually go back and reference them, categorize into subjects that make sense to you, then arrange them on the shelf until they look best.

I say subjects that make sense to you because each collection is different; some clients see fiction, non-fiction, art. Others see local author fiction, foreign fiction, mystery fiction, non-fiction science, non-fiction true-crime... you get the point. There's no right or wrong.

Pull the books down cleaning as you go; vacuum the spines, and wipe with a damp cloth (but not the cloth bound ones, vacuum those completely). Wipe down all the shelves with a damp cloth, then get books back on the shelves arranging until they look as best. The final step is to add decorative accessories.

How do you arrange your books?

Sunday, March 18, 2012

Styled Bookshelves

bookshelves before
left bookshelf after
right bookshelf after
girl's bookshelf after


These bookshelves are from the same apartment in the previous posts. She has some really pretty things and I couldn't resist doing a quick re-styling to make it all look super fab.

The clock on the left side will eventually be hung once she finds the perfect spot. The frames without pics will quickly be filled with some great family shots. Click on images to enlarge.

Saturday, March 10, 2012

What I Did Today: Organized a Linen Closet

before
after


This client recently moved into a 2 bedroom apartment with her husband and 2 small children. The apartment is beautiful and all the closets have great shelving but having great closets doesn't make you organized. She wants to make the space more functional and I want to make sure the insides look as great as the rest of the apartment.

For the linen closet, she did a pretty good job categorizing and has plenty of nice storage bins, but I wanted to take it a little further and make it more functional.

The large striped tote is now in the master bathroom holding extra toilet paper and we plan on getting something similar for the kids' bathroom. We edited down the rest, sorted by category, moved a few shelves, and reused existing containers to put it all back. Things least often used are on the top shelves (which she can reach either way). And there's still room to add more.

For more info, check out my flickr.

UPDATE: Just realized I spelled toddler wrong on the label, it has been corrected!


Tuesday, January 3, 2012

What I Did Today: Organized + Styled a Bookshelf

before:
after:


All the books were taken off the shelves and gathered from other areas of the apartment. We categorized and cleaned them along with the the shelves. Books she needed the easiest access are on the lower shelf. The last thing we did was add the decorative pieces and photos.

We moved the lighting around as well. The things on the top of the black surface (another bookcase) are there temporarily, once cleared it will only have the small light, clock, and large basket. Also, she already had these shelves but was concerned about it's stability so I suggested she add more hanging standards and brackets to make them more sturdy.

Thursday, August 11, 2011

Few More Ikea Shots....


(photos by wendy goodman, nymag.com, ikea bookcases and console)

(photos by wendy goodman, nymag.com, ikea wall organizer)


Tuesday, July 19, 2011

I Want High Ceilings Too!


I've been helping this client get settled into her fantastic new apartment. Wanting a calming, tranquil bedroom we opted for the white bedding and dresser. She found the gorgeous glass lamp at a local shop and is looking for a rug to complete the room.

I was there this weekend to place the new dining table and chairs, the set of bookcases and to finish styling the space. Click here for more pics.

Friday, July 8, 2011

Art Display In Small Apt


I helped this couple move earlier this year. They had the dining table + chairs, lounge chair, sofa and area rug and lots of art. Envisioning using this long wall as an art wall, I suggested bright white walls and minimal white furniture as not to detract from the art. We went with the three Ikea bookcases since I knew much of the art needed framing and I know how much that can cost.

I love the way the bookcase came out. Since these shelves are pretty deep I was able to layer some of the smaller books to give it more depth and interest. They said to do it whichever looked best, not necessarily by subject or author.

For more pics and info, click here.

Monday, July 4, 2011

Visualizing With Tape


It can be hard to visualize how something will look in a space, and more importantly how the actual size will look and feel in a space.

Measure out where the piece in question will go and adhere painter's tape or artist tape, I've even used post-it notes. The pic above shows how my mother and I did this to see how an oversized mirror and shelves would look in her living room. This can also be done on the floor to see how furniture will fit.

Wednesday, June 1, 2011

What I Did Today: Lack Hack


So we didn't lose any shelf space on this Lack bookshelf (which isn't being sold anymore?!) I moved the upper shelf just over the TV. The shelf is held in by small pins that are screwed into the outer frame, they do not rest on the pins, that would be too easy. The outer frame is solid so my installer simply drilled new starter holes (drilling the holes was simple, measuring where to drill the holes not so simple).

This is a progress shot. I need to tack the cables so you cannot see them as you do now.

Tuesday, April 19, 2011

What I Did Today

(before)
(after)
(before)
(after)

This client is living in a share, and has one room for all her things. I'm not only teaching her how to organize, but styling the room as well. By using her existing bins and boxes in a new way, she is spending the money she had put aside for this project towards a new rug and upholstered bench for the room. More pics to come...

Saturday, April 2, 2011

The Library: Details

(top)
(middle)
(bottom)

Just a few detail shot of the center bookshelf. The books are organized by topic, then arranged how they look best. My favorite are the birds. I thought they deserved a shelf all their own.

Friday, April 1, 2011

The Library

(before)
(after)


Before, this room was the dumping grounds of the apartment for things this couple didn't know what to do with, or didn't want to deal with. After they did a few rounds of editing on their own, I organized the remaining books by topic and styled the shelves with their existing decorative pieces. There are a couple hidden bookends in there too.

The room is the back to being the library/television room, stayed tuned to see what I did with the television....

Monday, January 3, 2011

Chinese Cabinet: Before and After


(before)
(after)

(left drawer after)
(right drawer after)

When I first saw this cabinet, I couldn't wait to get my hands on it. Sitting at the head of the dining table, I thought it would be great as a serving station or bar. Since they also have two dressers in the dining area, we decided to put the serving pieces in the drawers and have this cabinet as the bar (the husband is a professor and gets a lot of nice bottles of wine and alcohol as gifts).

We cleared everything out, edited and sorted what was left, and redistributed to other areas of the apartment. A stemware rack makes the most use of the top shelf. The middle shelf in the after pic was actually a cover to the bottom 'pit'. This is supposed to be for hidden or long term storage below. I thought it would be better used as a floating shelf below the drawers. My installer used small metal braces to connect the shelf to the cabinet since it's about 2" short of sitting in the existing sides which you can see in the first pic; there's a small green box sitting on the left side brace under the drawers.

The bottom 'pit' holds excess wine bottles and alcohol. Middle shelf is for wine and has placers to keep the bottles from moving. The client is very happy not only with how it looks but how we organized it by reusing so many of her beautiful little dishes and bowls that she thought she had too many of without any real use for.

Note: I know these pics aren't great. I'm getting a new camera and when we're done with the apt, will take pics of the whole place as an apt tour to show you everything we did here. It's a great space, can't wait to show you!