Showing posts with label kitchen. Show all posts

Saturday, October 20, 2012

Hanging Pots + Pans Storage


I'm helping this young family settle into their new apt by reusing what they have including these simple Grundtal rails, one of my favorite products from Ikea.

Before installing them we were concerned that having the pots and pans on this wall would make this corner feel cramped so we held it up to make sure and it wasn't a problem. They're both tall so we placed the top bar as high up so things are out of the way yet still easy to access. We placed the deeper pots on top with the pans below so nothing is in the way when you're at the stove.  

This simple idea has made them both really happy to be able to easily access and store everything without taking up precious cabinet space and they love the way it looks. 

Saturday, December 31, 2011

Hidden Potential in a Tiny Kitchen Corner


(click image for larger view)

This corner of a client's tiny kitchen had huge storage potential. After taking measurements I made my suggestions (I hand draw everything, I'm not so keen on computer sketches).

The basic idea was to put a tall skinny cabinet in the corner then add shelves (attached to the corner unit) in front of the window for prep surface with room below for recycling + garbage. The window is never opened but suggested the shelves be on a hinge so they can be lifted for access to the window in case of emergency.

They ended up going with a modified version of option #1, just adding the tall open shelf unit. They figured they'd start with the shelf unit and add to it later if needed.

Thursday, December 1, 2011

Few More Kitchen Cabinets


This kitchen is a bit smaller than the one in the previous post and this client doesn't have as many dishes and glasses so instead of having a strictly glass or dishes cabinets, we've combined the two. I used a couple tupperware bowls to keep tea packets neatly and easily at hand.

The cabinet with the alcohol is above the fridge and is for things she doesn't use that often and for excess teas (as you can see, she cannot have enough teas!!).

Wednesday, November 30, 2011

What I Did Today: Kitchen Cabinets


For the dishes, I've broken up the set placing some low and some higher since she doesn't need them all accessible all the time. The L-shaped cabinet in the last picture, is next to the stove so it's perfect for the oils and spices. One no brainer for kitchen storage is the perfect little turntable (lazy-susans). I use them for oils as well but for this cabinet we didn't need it.

As you'll notice, they're the only 'organizing product' used for these cabinets. You don't always need them...

Friday, October 28, 2011

After 4 Days of Intense Unpacking.... Kitchen Details


This is not how I generally work. I've never met this client and didn't see pictures of her previous home. She moving from the west coast but got called away on a job leaving me to unpack on my own, and 1 week until she came to town (which was really 4 1/2 days, I have other clients you know). The goal was to unpack as much as possible to see what additional storage she may need.

I unpacked the kitchen first as kitchen stuff takes us so much room when packed and I needed the space. She mentioned (the day after I did it) that she and her mother would do it once she got here but the thing is, nothing makes you feel more at home in a new space than when you can use your own dishes and make a meal right away. She can always tweak things like if I happen to put the dishes she used the most on the upper shelf.

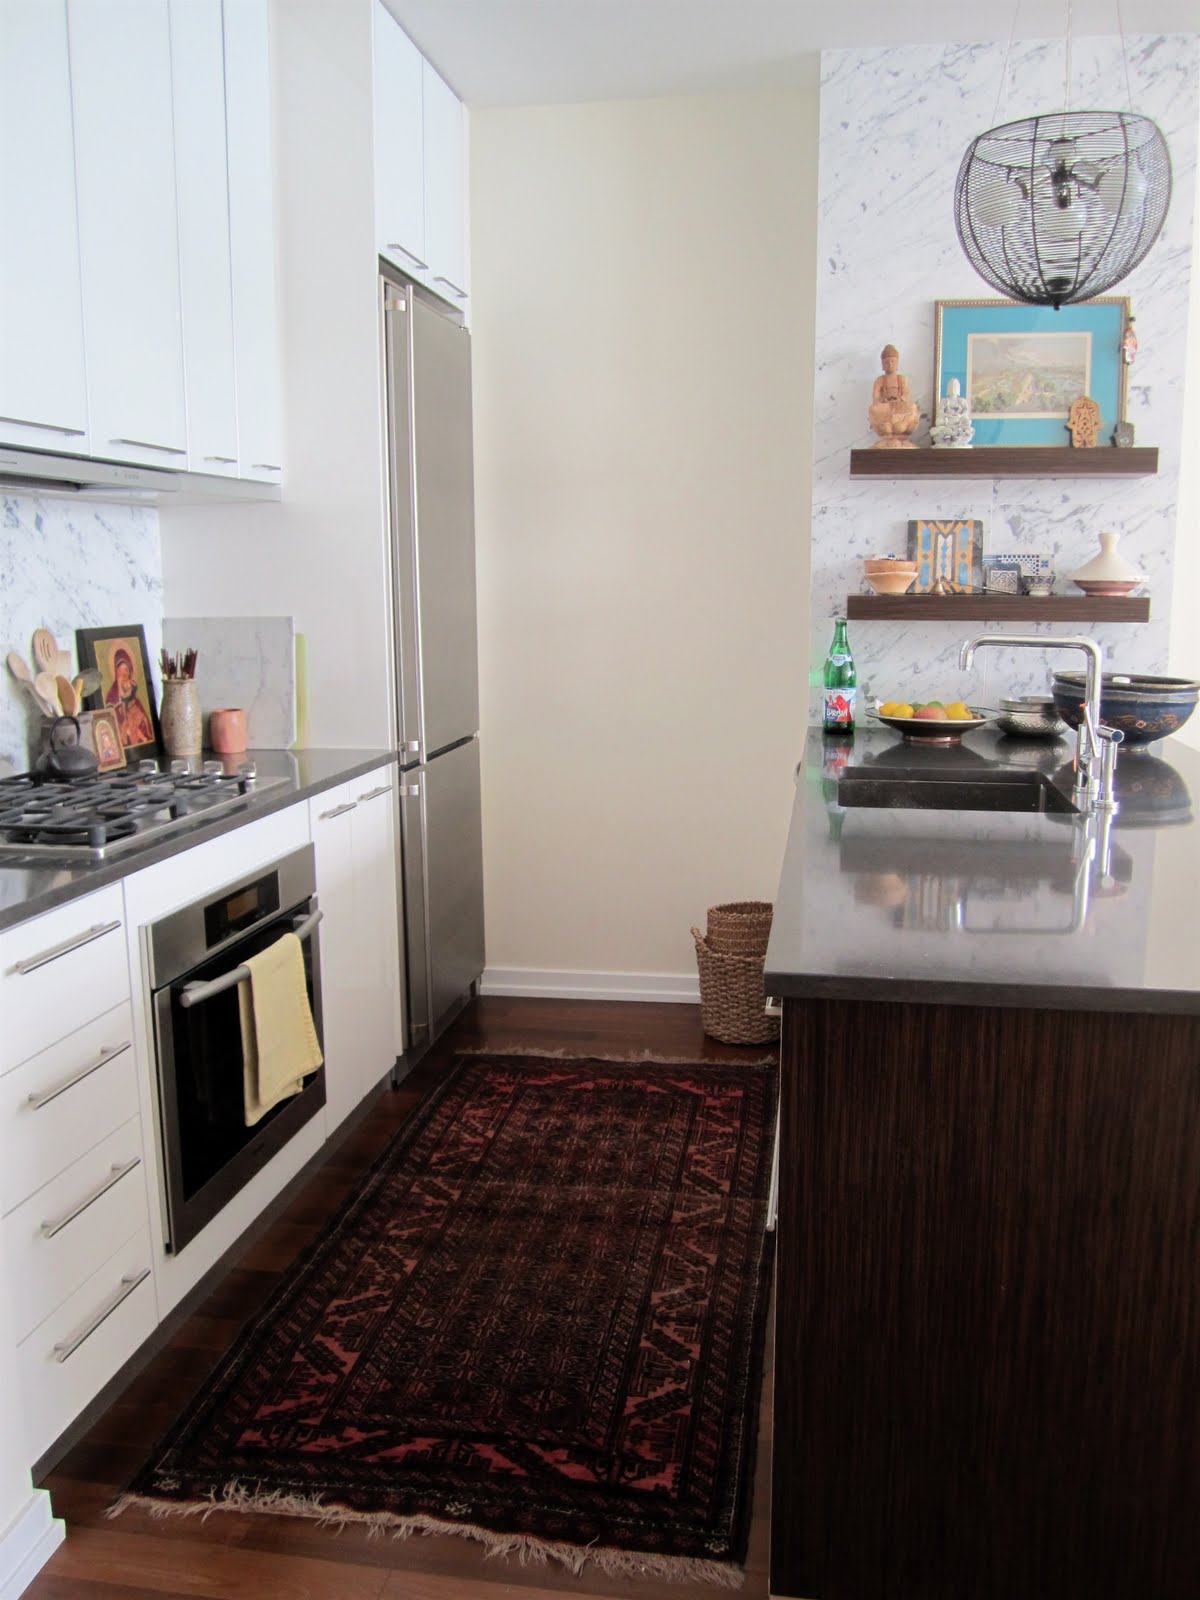
I doubt she'll keep it but I LOVE the rug in here. It fits perfectly, is super comfy underfoot, and is really beautiful.

Thursday, September 29, 2011

If You Hadn't Noticed...


Looking at the pics of my kitchen, you may have noticed there's no place for recycling. That's because there isn't.
I take it out everyday with the trash. It get's washed, put by the sink, and I grab it as I'm heading out. I keep a small paper bag under my desk for paper and when it get's full (every couple of days), it goes out.

Wednesday, September 28, 2011

Inside My Kitchen Continued

boxes over fridge
lower left cabinet
my kit

lower right cabinet, under sink

The boxes over the fridge hold a ton; starting from the back left: archive paperwork; misc household things not bing used in this apt (couple of lamp shades, large hooks, felt snowflakes); paint kit; household utilities: vacuum bags, light bulbs, extension cords, etc.

The lower left cabinet is mostly my kit, tools, and cat stuff. Under the sink is my miele vacuum, my shredder, and an old dish rack now holding cleaning supplies. Go here for more details.

While I have room under my desk for the shredder, I simply don't want to look at it everyday. It's a shredder with basket so I took off the top and placed it in the basket. I put paper in the basket and when it gets full (about every 2 months or so) I pull it out and shred everything all at once. Since I don't have a ton to shred it's a perfect solution.

Tuesday, September 27, 2011

Inside My Kitchen Cabinets

my small kitchen
cabinet above stove
broiler
upper left cabinet
upper right cabinet, above sink

I like my small kitchen, especially since I switched the cabinet doors, because of the wide cabinets, and large ss sink. The cabinet above the stove holds candles and misc decorative pieces not being used at the moment. The broiler holds my 2 pots, 1 pan, griddle and strainer (yup that's all I have).

The upper left cabinet is my pantry and coffee/tea area. The upper right cabinet is for serving pieces. I know I have a lot of glasses, but I love and use them all. The glass bowls on the lower shelf is actually a set of 9 nesting bowls, but many are currently in the fridge holding fruit, eggs, nuts, etc.

Go here for more details. The lower cabinets and boxes above the fridge will be in the next post...

Saturday, February 5, 2011

A Few More Kitchen Cabinets

(before)
(after)


The way I plan a space and figure out how and where to put things, is based around the simple concept that you shouldn't have to reach too much to get the things you use most often. So drawers for lower kitchen cabinets are a no-brainer. The double ones used above come in different widths and depths to accommodate most sized cabinets (measure before ordering, and measure from the hinge(s) as they take away from the cabinet opening width).

In the pantry, the open shelves on the left are shallow but the open shelves on the right are quite deep. The white mesh drawers keep things from getting lost in the back.

Ignore the light and cord in the last two pics. It's temporarily there since the overhead light went out.

Thursday, February 3, 2011

Awkward Kitchen Cabinets Part II

(before)
(after)

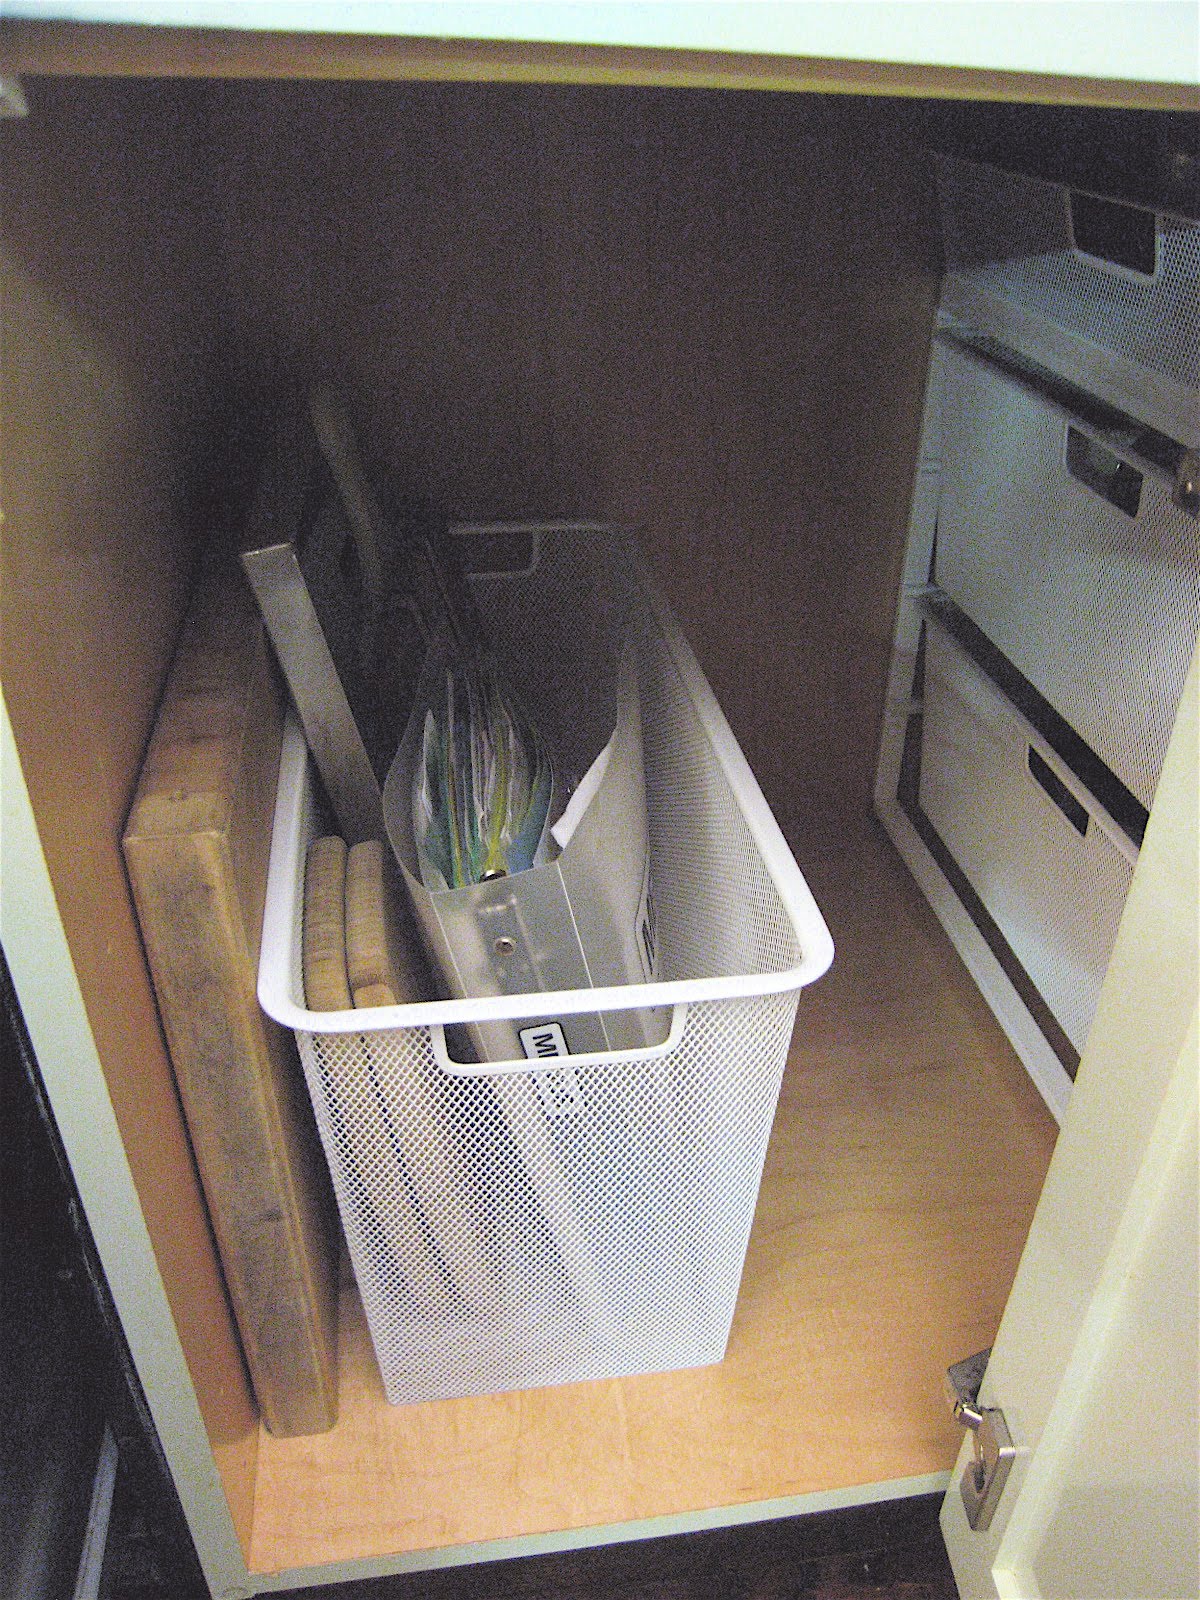
These pics are from the same kitchen as in Part I, this is a lower corner cabinet that's wide and deep with a narrow door. I was hoping to install a blind corner system but the door opening was too narrow. So we again, went the quick, easy, and inexpensive way by using an Elfa drawer unit. This unit fits in there perfectly, without an inch to spare. I literally had to assemble the unit IN the cabinet (thank goodness I'm pretty tiny and can actually fit in there!)

It's a wide 4-runner frame with a top (sold separately), and a 1-runner drawer resting on top to make the most use of the space. The tall skinny elfa drawer in front holds smaller cutting boards, the take-out menu binder, etc, keeping them in reach. This also means when you want to get to the back drawers (which isn't too often), you only have to take this one piece out instead of everything individually.

Wednesday, February 2, 2011

Awkward Kitchen Cabinets Part I

(before)
(after)

(three bins fit in nicely, with a large one in the back)

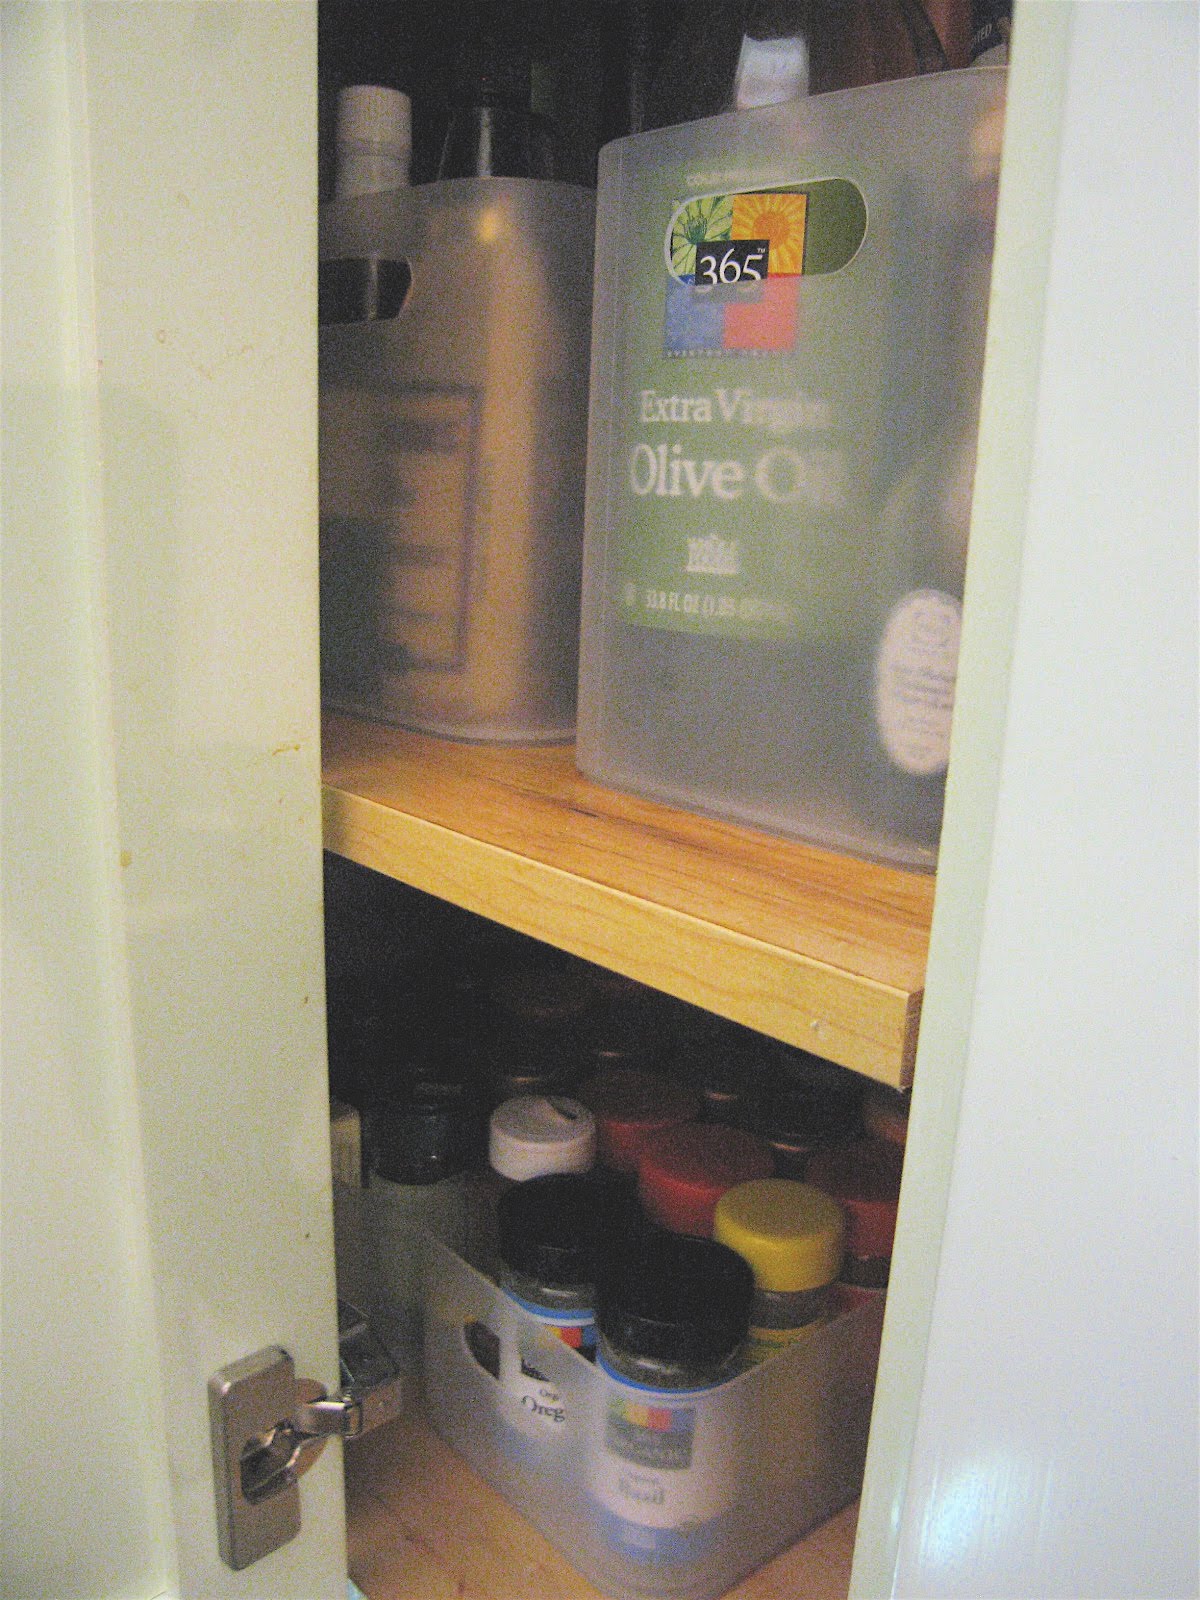
I understand why this client was an inch away from completely ripping out her kitchen and starting from scratch. This upper cabinet is ridiculous. With a proper cabinet to the left and right, this one is tucked in the corner with a tall skinny door. Why the contractor didn't either put in a standard corner cabinet (angled out), or a corner door with a center hinge I don't know. This is not a cheap kitchen (like mine!), it's a beautiful kitchen in a stunning apartment. Anyway...

The quick, easy, and inexpensive solution is translucent bins that makes getting things in and out easier as well as making sure nothing gets lost in the back. Spices were organized how the client cooks with them, the most often used items in the front. The bins don't look very large but they do hold a lot and I didn't want something that would be too heavy for her to get in and out everyday.

Friday, December 24, 2010

Apartment Progress... Kitchen


(just after I moved in)
(sneak peak of my new sofette! next post will show more...)
(click on pics for larger view)

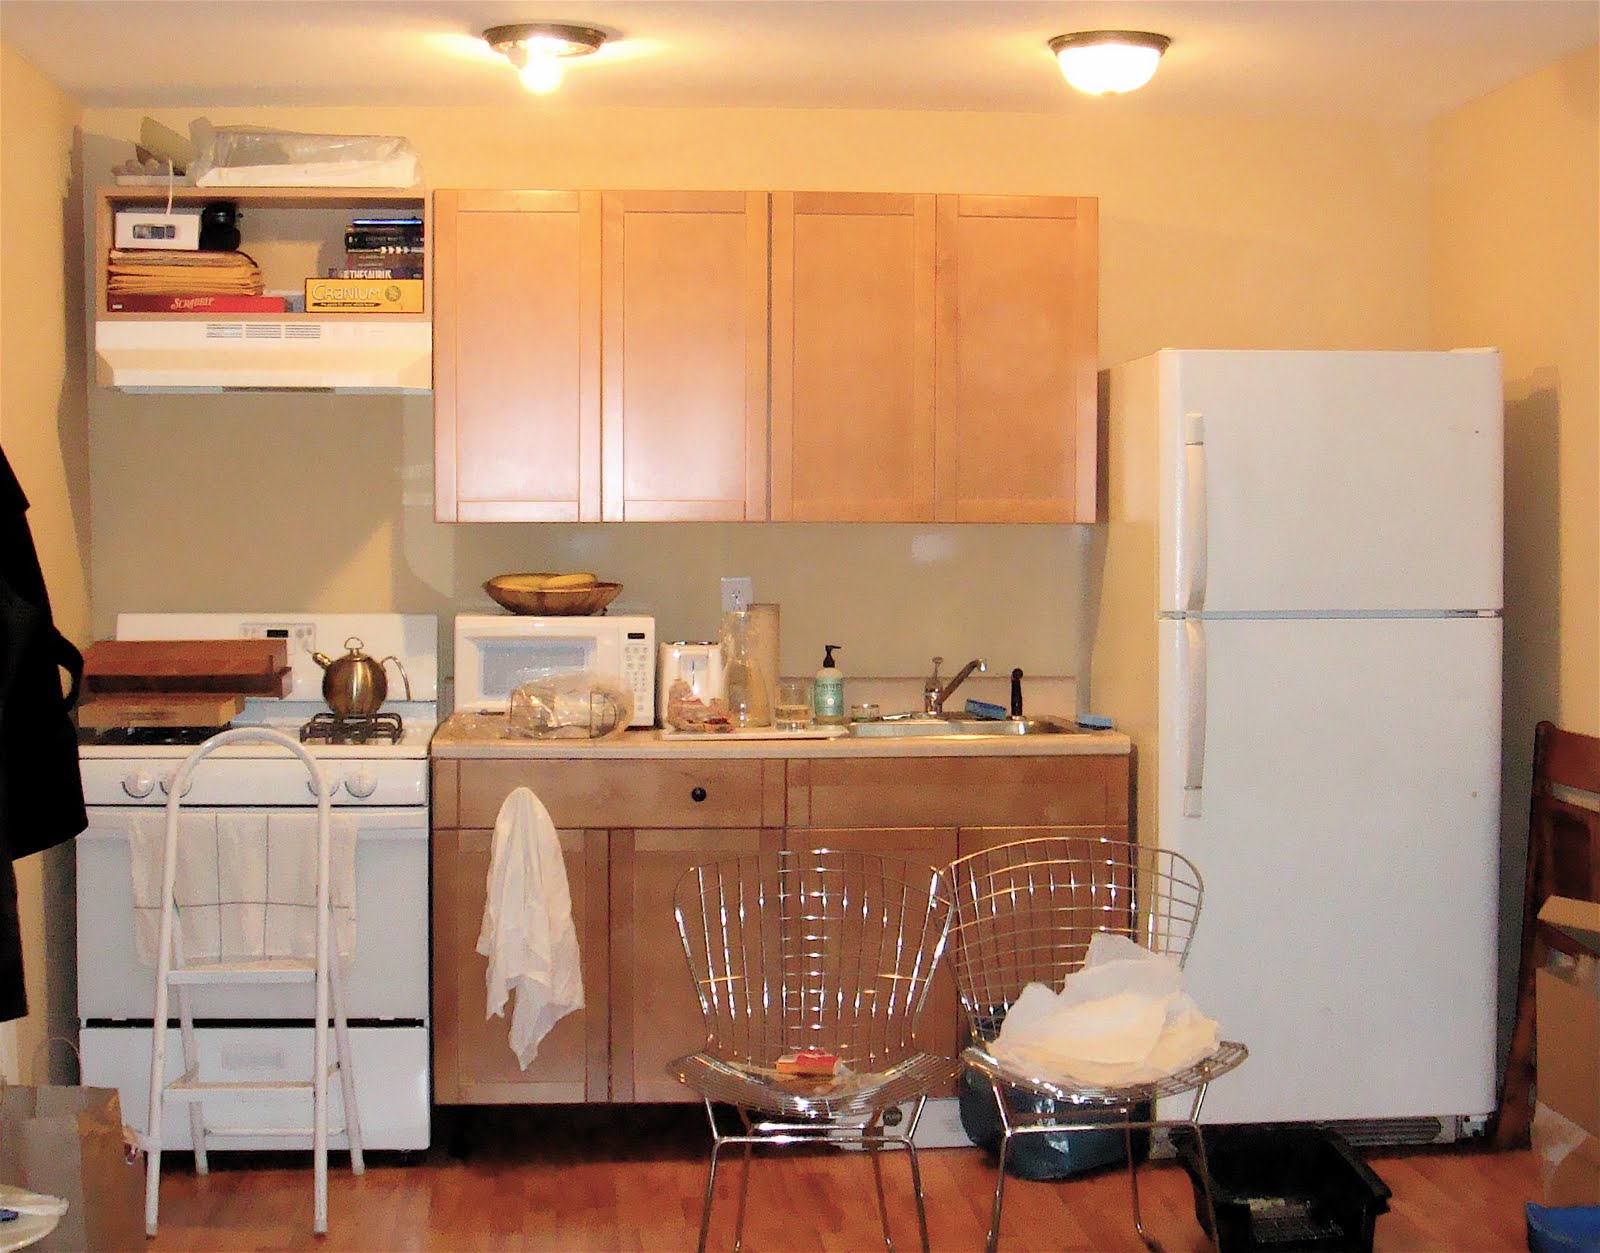
Considering the size of the apt (approx 325sqft) I just wanted the walls and kitchen white so they faded into the background. I immediately repainted all the walls, doors and trim Benjamin Moore Super White; flat for walls, semi-gloss for doors and trim. The cabinet doors were more involved to switch out so it took me a while to get to it. I gave the original doors to my landlord so he can reuse them in the apt upstairs. He didn't mind that I switched them out considering all the other improvements I've made.

The doors were $2 and $3 each (but now for some reason are 2x the price!), and the hinges were $5/door which brought the cost up to a little over $100. The cabinets aren't from Ikea and the hinges didn't line up so my installer had to drill them in. Not easy and as you can see, they're not perfect, but the original ones weren't either. And I don't care, I think this looks so much brighter and cleaner.

The stripes over the stove are the same fabric I used in the bathroom. The lion you may remember from my first and last apt, a souvenir from my sister's trip to Africa. The white boxes over the fridge store lightbulbs, vacuum bags and other household things, my paint kit, and archived items like ski pants, papers, etc. The black kettle and butcher block live on the stove; the butcher block gives me much needed surface area and I only use 1-2 cooktops at once so I don't miss the other two, I did the same thing in my last apt. I use the little black kettle (a castoff from a client) to make my coffee every morning and I like the way it looks so it stays out.

Wednesday, May 5, 2010

Love These!


Use the wall mounted metal Slat Ring all over the house for magazines, towels, jewelry and belts, scarves, put stuffed animals in it in a kid's room...

This long Spontan magnetic board has a little shelf on the bottom. Put it in the entry to hold family notes, mail, keys; in the office; or in your closet to hold inspirational pictures, jewelry, and accessories.

The Fridge Monkey holds any kind of bottles and/or cans. Use it in the fridge, in a cabinet, and/or on a bookshelf for wines. Cut it to fit anywhere...


Of course I love them all more if they came in white!

Wednesday, February 10, 2010

Organizing A Kitchen Drawer


A few suggestions when using modular drawer organizers like the metal mesh ones pictured above:
  • Pull everything out of the drawer sorting into prep and serving pieces, editing out anything you don't use or need.
  • Look at what's left to see what size organizers you'll need; extra long or wide.
  • Using your drawer's measurements, draw it out on paper to see how many organizers will fit.
  • To make it look its best and not cluttered, create a symmetrical pattern.
  • For the organizers in the back of the drawer, angle them from back to front for easy access.
  • Group things by use to limit searching for things.
  • If you have an inch or so left in the back of the drawer, wedge cardboard from a toilet paper or paper towel roll to make it nice and snug.